Pre-Halloween 2016 and my Husband and I having the usual discussion,
“What do you want to be for Halloween?”
” I dunno, what do you want to be?”
And so it goes, for about 2 weeks until finally an idea pops into his head and he says it out loud.
Background: We have been attending the same extended community event for 20 years now, and we tend to try to go with the theme of the evening and be creative. For 10+ years of attending the Annual Witches Gathering Charity event, we have been judges and for the past 2 years we decided to take a break.
In 2015, the theme was Dancing Between the Worlds and we went as Quantum Foam and String Theory:
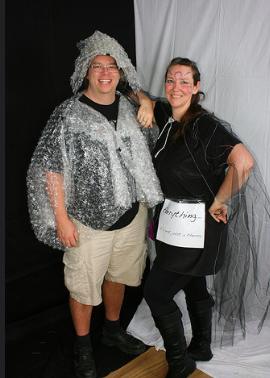
We were told it was a bit too esoteric for the first year as not judges.
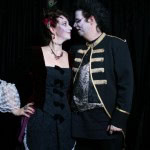
Previous years, we were judges in these:

So, on to this year’s theme:
To the Bottom of the Sea…
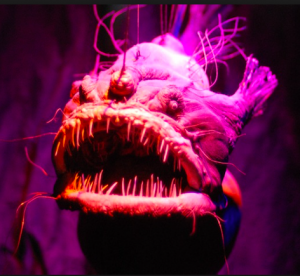
Tom’s idea: Anglerfish
And the research part of this adventure began and I called it #myscienceproject.
I looked up images and realized there were so many different types of Anglerfish, I could be totally creative.
Now, it’s also a couple costume, so I started to research the appearance of the male versus female and learned a whole new batch of information.
The Oatmeal describes it best – please check out : Go there and come back! After you finish laughing…
Okay, Are we back now?
Once I decided on a general concept for the female Angler Fish – Angela, I started to research construction methods and found an amazing number of Angler fish halloween costumes out there already. Go google Angler Fish costume images after you are done here!
Once I clarified whether he wanted it on his head or torso, I could choose what size to make her and construction began.
I was so pleased that we had just received a new couch and had packing cardboard available, as well as many shipments from a certain online company that packs their cardboard boxes with oodles of brown craft paper – which I keep and use for patterns mostly – provided me with lots of clean paper to use with my chosen method:
papier mâché
-
a malleable mixture of paper and glue, or paper, flour, and water, that becomes hard when dry.“George was constructing a crocodile out of papier-mâché”
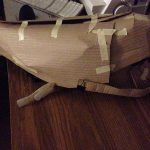
Step 1 – Create a cardboard skeleton:
I sew for a living – you may have guessed that – and I like to “drape” when I create original pieces , so I pretty much draped the shape and cut away cardboard into darts to curve it, and used mostly masking tape to “baste” it together for the first fitting.
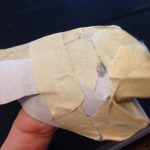
Step 2 – Add some extra support pieces as needed:
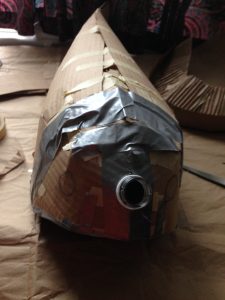
I added wire to the bottom to help me have a defined edge and used duct tape to hold it in place – this is a hat making skill that normally includes stitching the wire in place with a blanket stitch and then adding a bias wrap to hold it smoothly in place. I swear. #millineryskills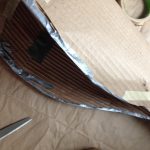
I also added a bit more duct tape through the seams and started prepping it for the embellishments:
The lure mounting was the top segment of a 2 litre pop bottle.
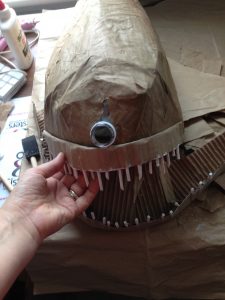
The separate lower jaw, I created by folding the corrugated couch cardboard – which gave me the perfect base to insert the dowel teeth. The dowels were small diameter craft dowels that I could cut with my power cutters < stronger than scissors>, and I inserted them into the tunnels in the corrugated cardboard. For the upper teeth, I created a narrower version of the folded over jawline and did the same thing.
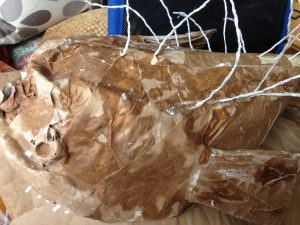
The spines I created by hot gluing super fine wire to white yarn.
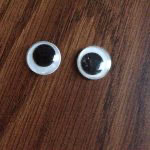
The eye sockets were created by gluing two safety seals from the inside of juice cartons onto the body – I was able to get eyes that fit exactly into the perfect circles created by the seals, but if I had not, I was planning to fill the seals with hot glue and have translucent eyes.
I did have most of the structure as solid as possible with tape before starting the paper and glue/ paper and flour steps, so the first layers were strengthening and building up of features.
Step 3 – getting messy:
The recipes:
Day 1:
half glue, half water.
The first layer I did with white glue and water – I found the plastic tray from a frozen dinner was PERFECT as a tray – it’s big enough to run the strips of paper through it and was just the right size for making a good amount of mix. Most recipes online tell you to only make enough paste for one go at a time. This was the perfect amount and sized – just about 3/8 inch depth in the tray gave me enough paste to do a first layer and that dried family quickly.
Day 2:
1 cup flour, enough water to make it a paste the consistency of crepe batter.
Again, I used the tray and a small whisk to make it smooth. The brown paper works great to sculpt the extra thick parts and I keep the lower jaw and fins separate so I could work on the body, put in front of the window with a fan blowing on it while I worked on the jaw, and fins, and switch as needed.
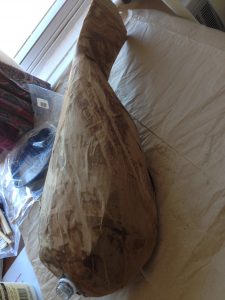
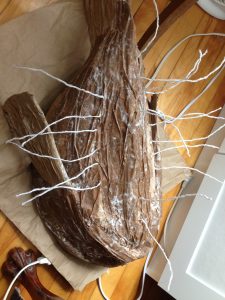
Once I had built things up to my liking for musculature, I let it dry overnight and the following day I created the skin texturing with a final layer of paper and flour mixture. Scrunching the paper creating vertical lines along the length of the body and fins gave the look I wanted.
PAINTING!
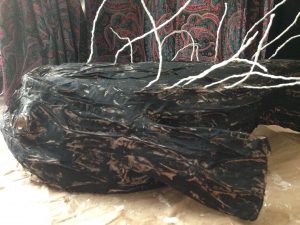
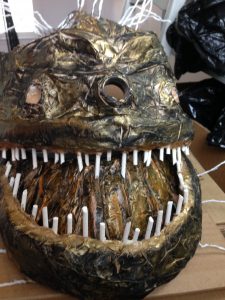
Acrylic craft paint worked great and I used sponge brushes to get the base black on.
As I was applying the black, I realized that I would not be able to easily get into every crevasse of the folded paper so I just went with it. The colour of the Anglerfish is either dark brown of grey, and this was creating a great version of it by having the brown craft paper texture offset by the black.
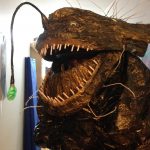
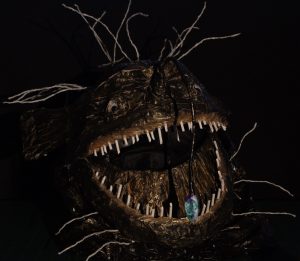
I then added metallic gold to give it a great sheen and added depth and reflection.
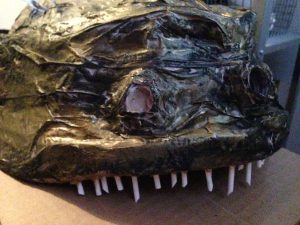
The teeth I painted plain white – keeping it simple. and I added a line of hot glue around the teeth after the painting, to keep them stable but also added an extra layer of texture and wetness to the jaw.
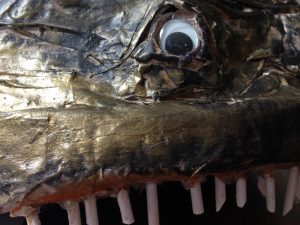 Finally, I added a thin coat of orange glitter paint – it was what I had – to the inside of the mouth. Cool, eh?
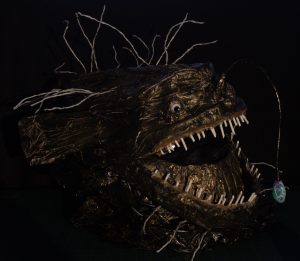
The lure was created with lighted wire from my hubby, that has a power 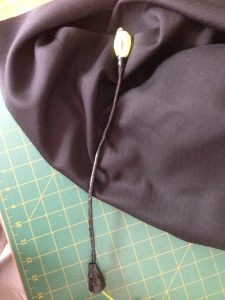 pack for lighting it. I rolled it into a ball, inserted that into a small plastic bag, tying it with a twist tie. I wrapped about 10 inches of the light in paper and taped that into a flexible tube with duct tape and then wrapped the entire segment in electrical tape. I created a tiny cardboard funnel for the end that would insert into the mount and taped it all. a bit of gold paint on the black to blend it in along with some hot glue and there it was!
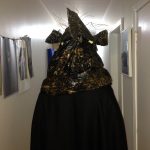
Inside I ran it through a cardboard tube along the “spine” of Angela, and bundled the remaining light cord into a black fabric pocket in her tail. The entire body was them zip tied to my hubby’s bike helmet and some extra duct tape locked it in place.
Super industrial velcro holds the jaw in place to allow some adjusting as needed, and then gold paint on a black garbage bag creates her belly – it’s only on with masking tape to make it quick to remove if needed.
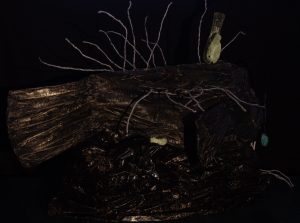
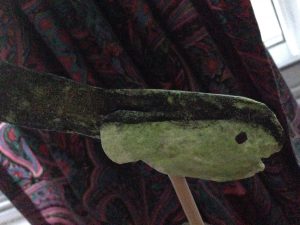 In between the big job of creating Angela, Randy was made from a cardboard toilet paper tube, stuffed with a few cotton balls, held together with masking tape and a couple of layers of paper and flour. I painted him with glow in the dark paint and black . He’s a finger puppet to make life easy for me!
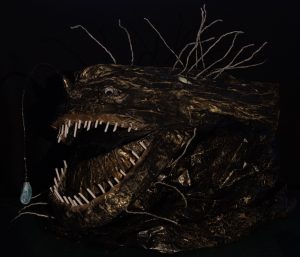
Test shots of Angela once everything was ready:
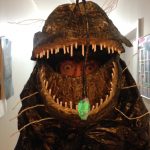
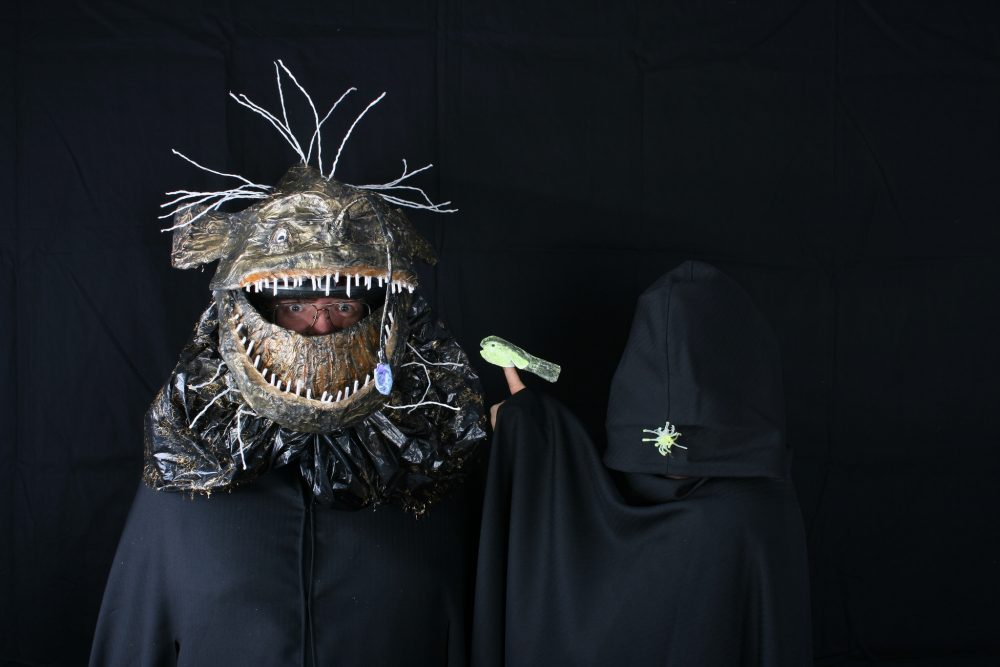
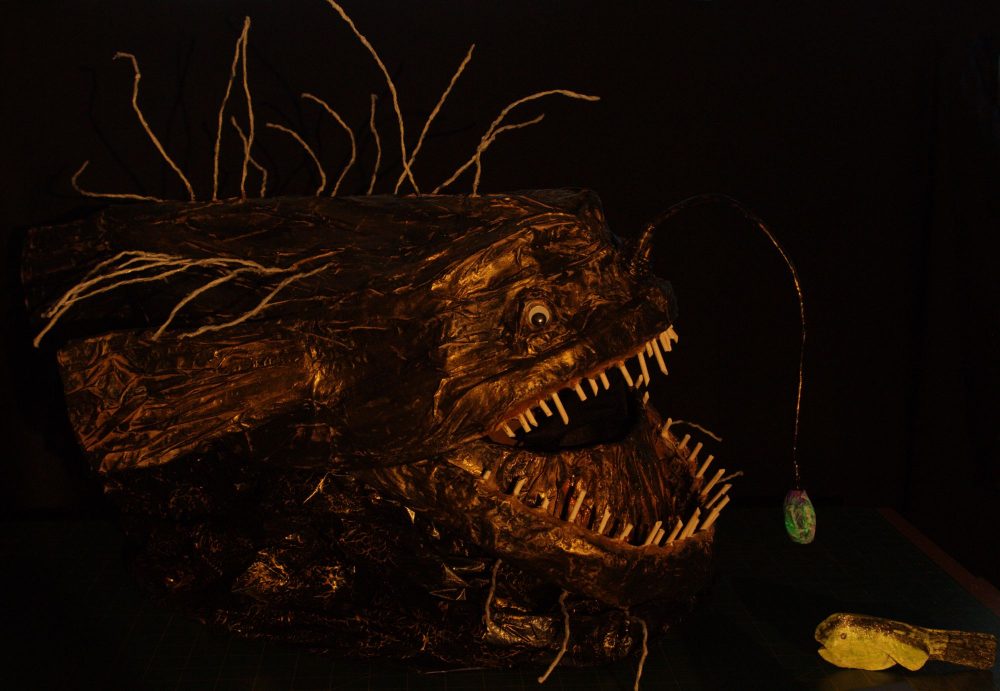
The Glamour Shot of Angela and Randy:
The Boudoir Shoot by Darner Media:
And finally-
Angler and Randy at the Annual Witches Gathering 2016
Winners! Judges Favourite “New Nightmare”