As part of my Summer break, I like to take some of the time to do things around the house/ studio. And as my machines are in the shop for their annual tune up, those things involve organizing, purging and / or repairs and updates.
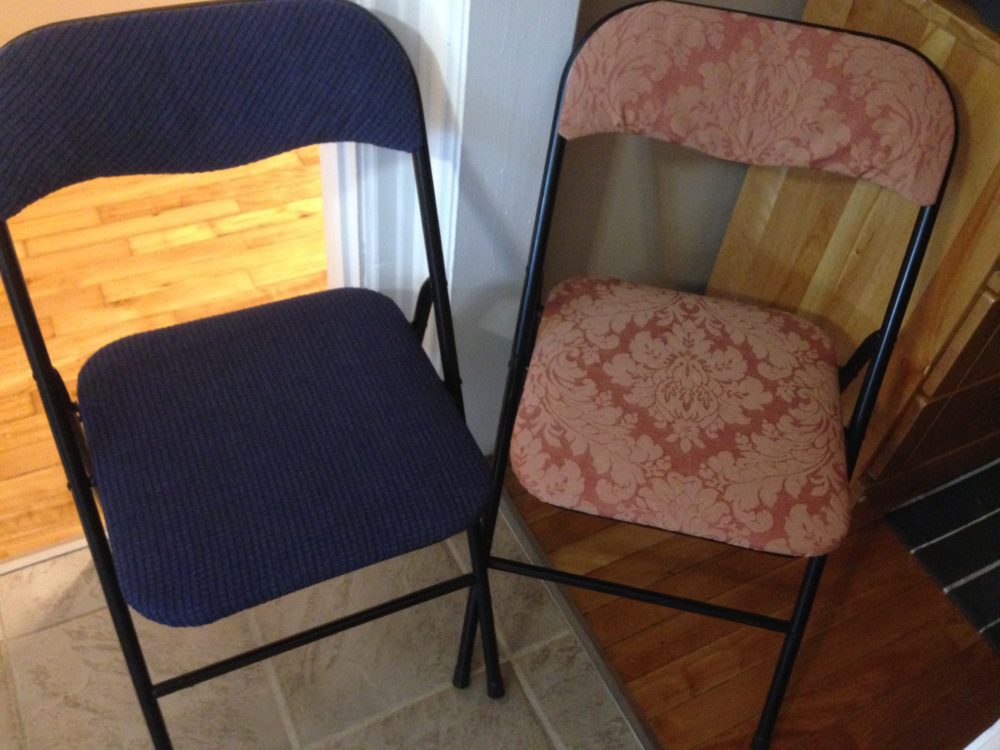
So this afternoon project resulted in 2 great new looking chairs, which were put to use right away last night as we had some company over to help sort our DVD collection.
Note – found out at the end of th evening that teenagers do actually think differently – even really well behaved, polite, articulate ones. While they put all the DVD titles starting with each respective letter together, they chose to not sort within that subset. So, we will be taking some time/bribing someone else who is as OCD as we are, to finish the job at some point in the future:-) …Pad Thai, anyone?
Okay, back to earlier in the day…
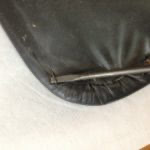
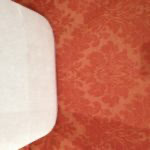
I began with looking at the chairs I have been suing and turning a blond eye to all of the cracks in the vinyl for a drew years now. While they are good folding chairs, it was time to either donate or recover.
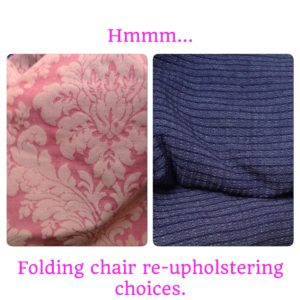
I took a few minutes to search online for techniques and scanned a few other posts, which were much more succinct than this one, and realized how easy it would be. Quick journey into the fabric bins to find some options, and narrowed it down to two. One of each was the final choice!


and so it began:
Tools:
- screw drivers – one to remove screws, flat head to remove staples
- pliers to assist in removing staples
- scissors to cut your fabric
- fabric – enough to cover your pieces, extra if using a print / design that needs matching
- interfacing or muslin if you want an in between layer
- staple gun and ¼ inch staples
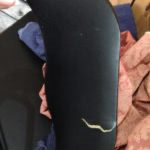
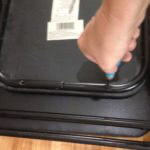
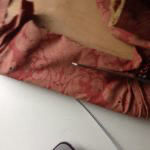
1 – Unscrew the sections to be recovered. If there is a finish layer, mine had a thin layer of vinyl stapled on, remove it carefully too.
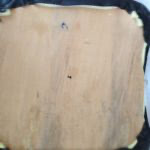
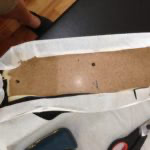
2- to contain the rips, I used a “primer” layer of stiff interfacing – it was handy.
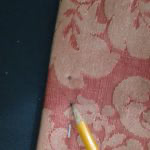
3-decide on fabric placement – prints look best centred , stripes/squares and al other fabrics, pay attention to the straight of grain – use it as your guide whether placing square with it or on the bias.
4- start in the centres and work your way out to the corners. Practice with the in between layer to see how the curves will work etc.
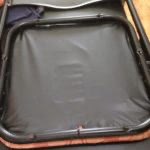
5-Mark the screwholes to help later reassembling and trim excess fabric as needed.
6 – replace liner, or fins a nice way to hide the fabric edges
7 reassemble the chair and admire your work!