My elevator pitch used to be: ” I sew, I dance; I teach both.”
I have retired from performing and teaching dance< Belly and Bollywood>, but I still am lucky enough to be able to keep up the creativity with my sewing work.
Every once in a while, I am lucky enough to be able to assist another sewist in the completion of their projects that may have gotten away from them, their lives have become too busy, or whatever the reason…
Here’s the latest – and I love it – I want one for me now ! I don’t need one though… sigh…
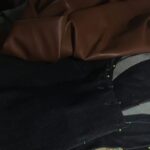
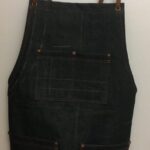
TADA~ and yes, it will look better with a body inside and a bit of aging from laundering..
Click on the first thumbnail and hit the right arrow to go along for the journey!
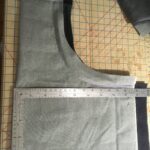
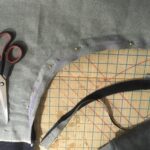
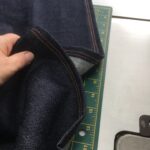
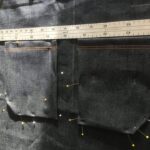
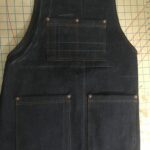
The pieces – a cut out apron, extra denim and some leatherette!
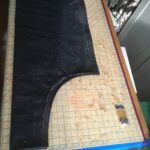
and checking the size at the “waist”
Adjust the curve to even things out
and determine the length and add hem -make sure it’s squared off too!
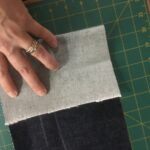
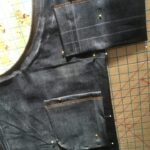
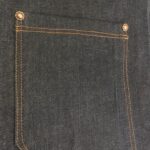
Small pockets – using the grid to make them square
serged all the edges and folded them back to create the finished openings with topstitching
openings finished and the sides and bottoms folded back and pinned
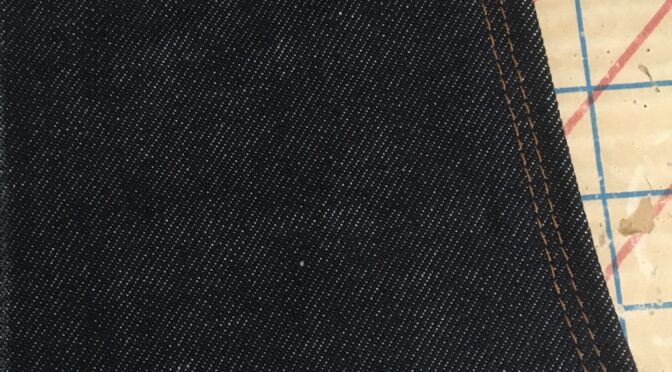
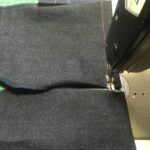
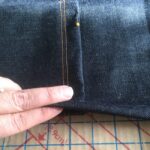
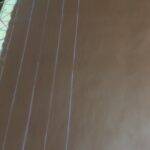
the same treatment on the apron itself – and two rows using the foot as a guide.
making sure it’s all even – fold it in half.
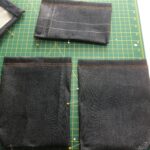
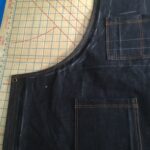
pocket placement is centred along the centre front fold.
and the lower pockets are checked …
ruler helps to again ensure they are straight and even
and they get sewn in place with more topstitching – again using the foot as a guide for consistency
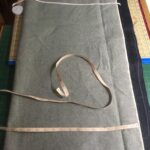
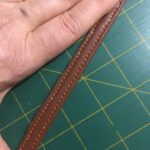
making the straps in leatherette – measuring and making straight strips
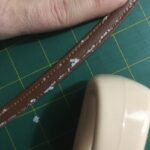
folded in thirds and using paper underneath to ensure a smooth ride through the machine
when you pull away the paper, some bits will stick between the threads – I find a slight rubbing with a stiff brush gets more of it out.
see…
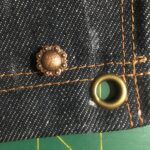
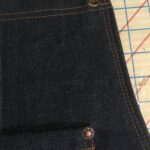
Conchos and Grommets for details!
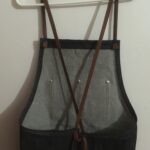
The straps were stitched so that they can be slipped out to launder the apron and criss cross in the back similar to a Japanese apron style.
and yes, there are the original chalk lines – which my client will wash out, but ignoring them… I LOVE IT!
So pleased with how the conchos worked out – even though I did hammer my finger
and even though they are different colours, with the straps, it blends beautifully!
TADA~ and yes, it will look better with a body inside and a bit of aging from laundering..
So…. yes!
If you need help finishing a project, let me know and let’s co-create something amazing!
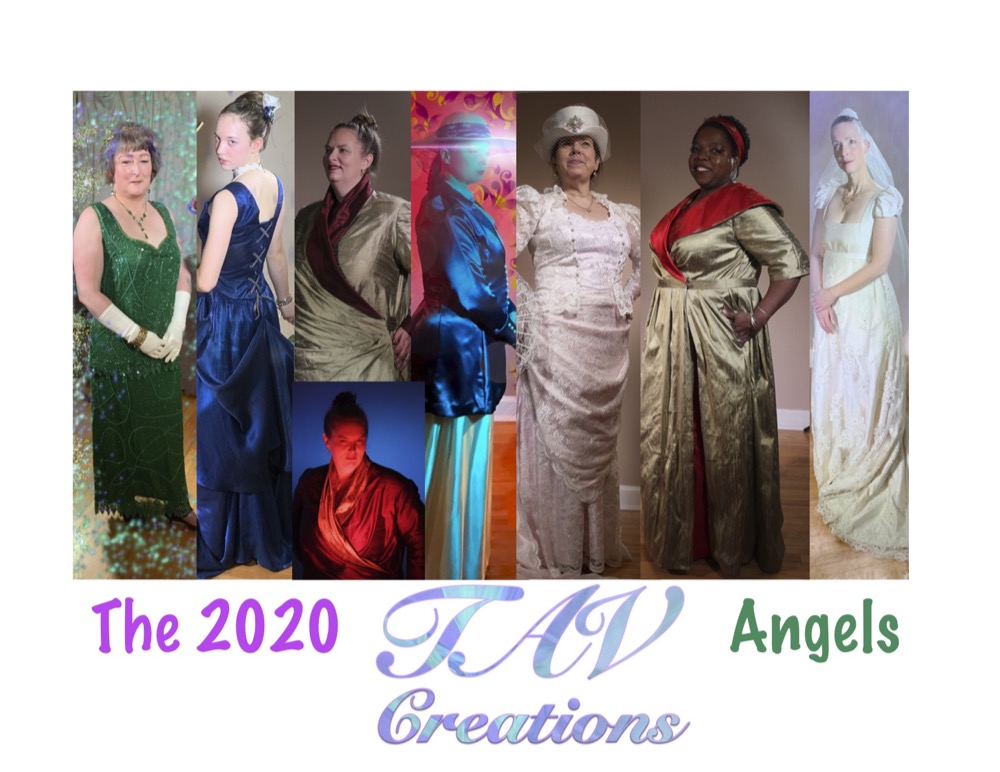
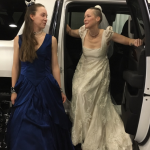
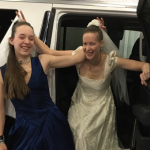
I am super grateful to the folks who joined me this fall/winter in being my models/co-creators/willing superheroes to showcase my skills as a designer.
This year, the nature of my “collection” is more “adventures”– #TAVCreationsAngels I am super grateful to the folks who joined me this fall/winter in being my models/co-creators/willing superheroes to showcase my skills as a designer.
This year, the nature of my “collection” is more “adventures”– #TAVCreationsAngels Assemble !
Each week I plan to focus on one of these amazing people and the character and creation we produced !
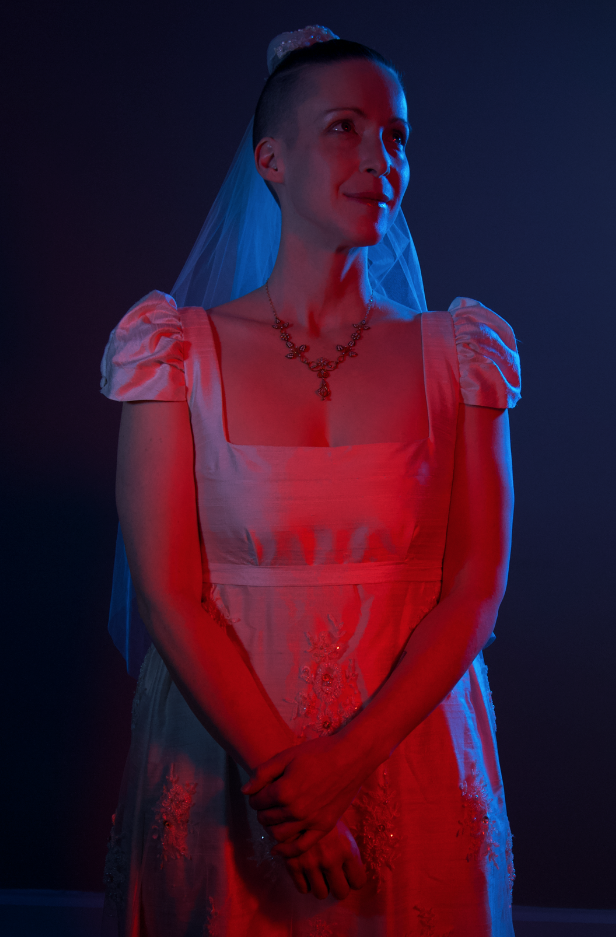
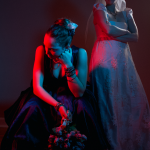
Today, let’s talk about Zombie Dragon Girl!! The juxtaposition of this superhero: a Darkness that gives Light in creativity and movement.
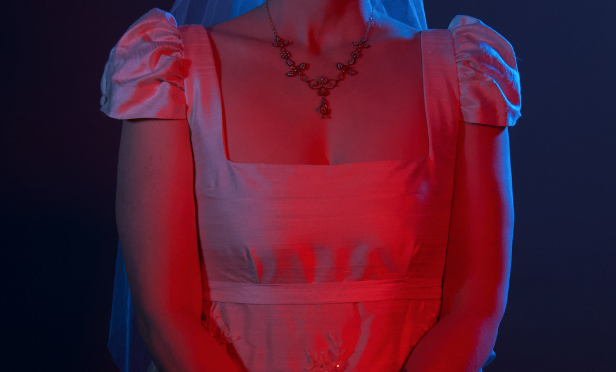
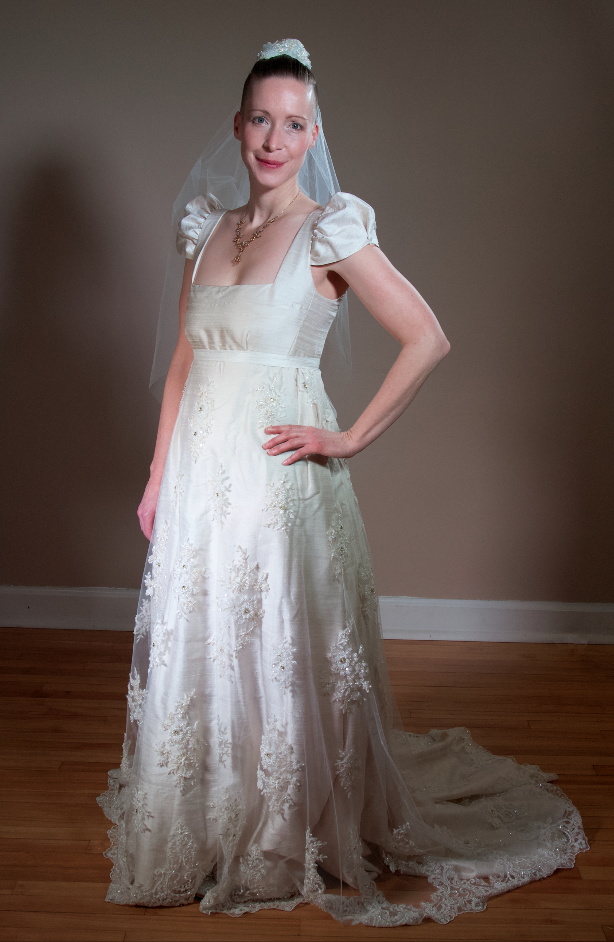
Zombie Dragon Girl in elegant Darkness she shines..
Zombie Dragon Girl had a clear vision of what her gown could be and the pieces all came together -from two separate donated gowns, a TAV Creations purse created in the 90’s, a sample veil that worked perfectly to enhance her distinct hair style!
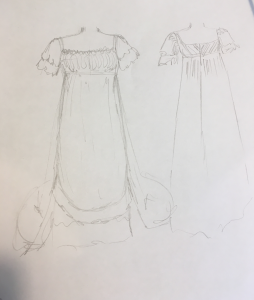
TAV Creations sketch from ideas discussed!
Starting from a sketch that gave me the direction to head in, I had assembled the elements for our first meeting, and we kept just raving at how it could all work together!
The Design:
RE-Design and melding of Wedding gowns
Labour: $450
Two dresses, a sash, purse and veil from different sources all came together in the TAV Creations studio!
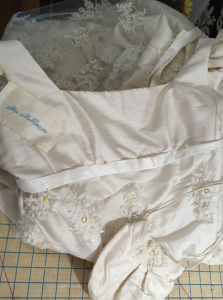
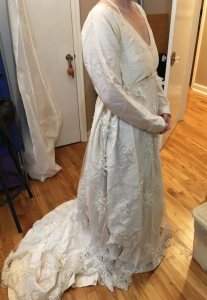
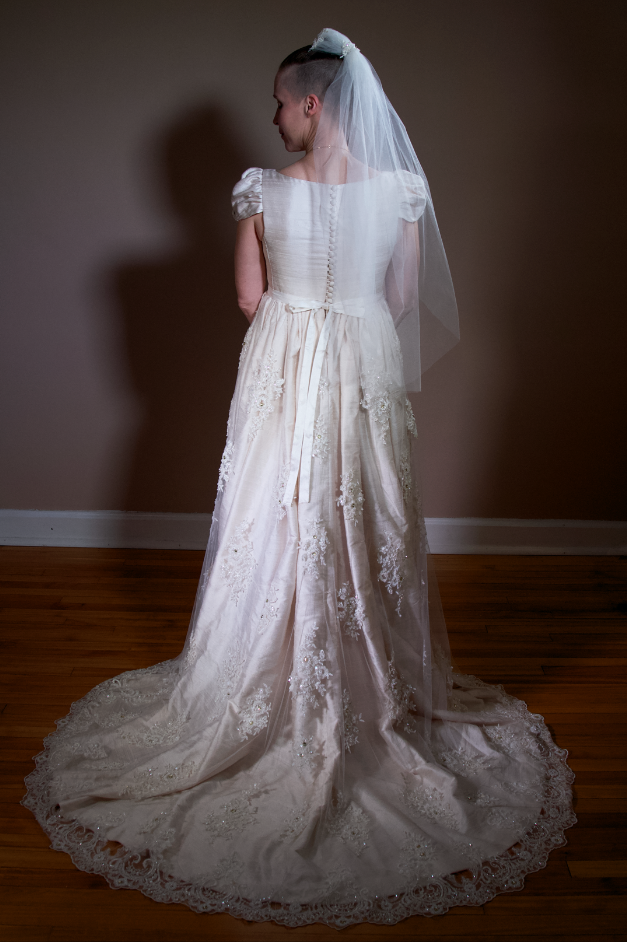
Zombie Dragon Girl’s Regency inspired silk gown was created by taking 2 wedding gowns , resizing, redesigning and reassembling to create this new piece.
The original silk gown, shown here, had full length set in sleeves, a “v” neckline in front and a lower waist line.
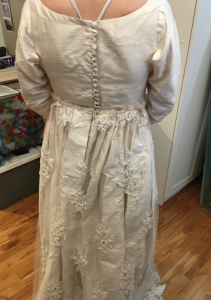
It was recut to remove any unsightly stains, the sleeves made into a new fun style, the skirt regathered into a more back waist emphasis. The train was reshaped to match the lace overskirt that was added.
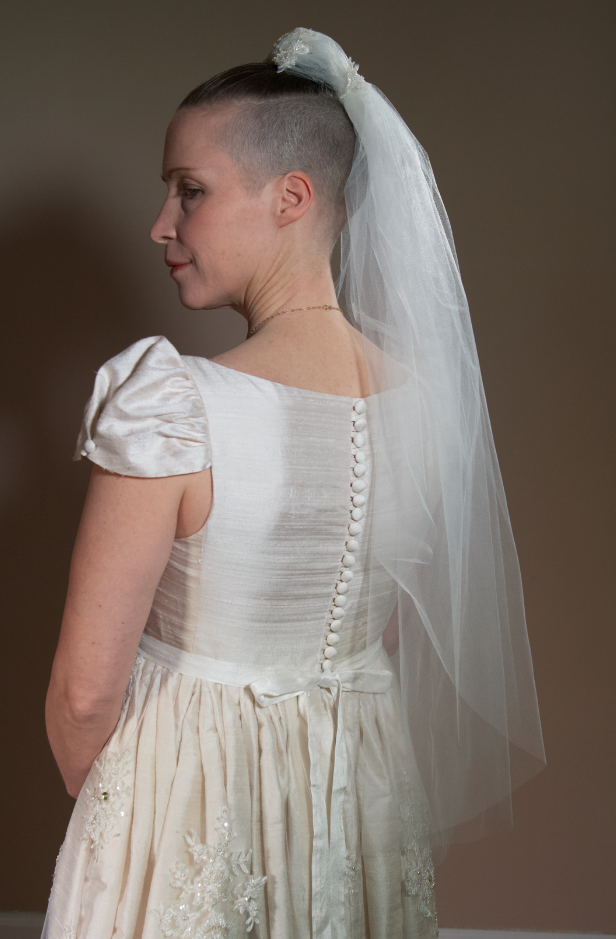
The lace overskirt also offered up some appliqués to add to the donated veil to make it a fun matching headpiece
Supplies:
Donated silk dress
Donated lace on tulle overskirt
Veil redesign –
Labour $30
Donated veil
Using lace from the overskirt, I was able to create a bun wrap shape that kept the veil long and flowing.