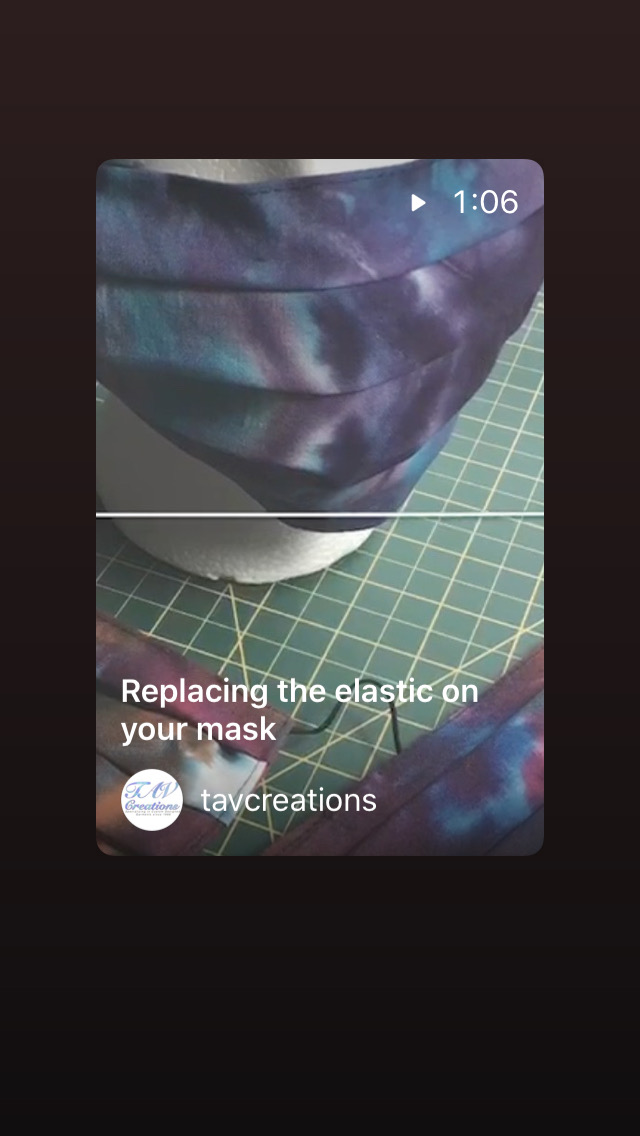
As you wear and wash your reusable cloth face mask, you may need to replace your elastic. Or you may want to change from elastic to ties or vice versa.
This quick photo tutorial is one way to quickly make the change!
Some sewing required! But you can choose to sew by hand if you find have a machine.
Instructions for tutorial – these are on the video too, but it runs fast, so read through then visit the video to see what I mean!:
If you have been wearing and washing your mask, elastic wears out, and you may want to replace it.
1-Get in as close as you can and cut it off. It is fine if little bits remain.
2-Without over stretching, measure the old elastic. Remember it has already stretched a bit, so this amount will work with new elastic as it already includes what you will sew as “seam allowance”.
3-Cut replacement pieces* the same length; they can be a different width.
4-Pin the new elastic* into the corners < as shown> lining up the cut edge with the finished edge of the mask, on the inside.
5- Sew the elastic by machine or by hand about ¼ inch to 1 cm < ⅜ inch> from the edge.
6- Flip the elastic out, and flip the mask over with the outside facing up.
7- Sew a second row of stitches along the edge of the mask, catching the elastic and encasing the cut edge.
8- On the inside your see the folded edge and stitching line holding the new elastic* securely.
9-And on the outside, your mask has some extra sewing, but you know you will be able to replace this elastic* in the future by undoing your stitching lines.
*If replacing elastic with ties, I have found, approximately 14 inches for the bottom two and 16 inches for the top two ties work for most people.

